Renting a Minecraft server means paying monthly for someone else's control panel and whatever limits they decided on. Hosting it yourself on a VPS costs less, gives you the actual console, and lets you run whatever version, mods or plugins you like. About 20 minutes from a blank server to a world your friends can join.
Using an AI coding agent? There's a ready-made prompt at the end of this guide. Copy that instead of this article.
What you'll need
- A PrivateByte VPS. See the sizing note below, because this is the one thing most guides get wrong.
- Ubuntu 24.04, which is what the commands below assume.
- The Minecraft Java Edition client, to connect and test.
- About 20 minutes. Every command is copy-paste.
Sizing, honestly. Minecraft's memory use is dominated by the Java heap, not by player count. A vanilla world wants 2 to 3 GB of heap on its own, and the operating system needs its share on top. Our Flare plan has 2 GB total, which is genuinely fine for two or three players on a small map and genuinely not fine for anything more. Orbit at 4 GB is the honest starting point, and modded packs want Comet at 8 GB or more. Undersizing this doesn't produce an error; it produces lag spikes and "Can't keep up!" in the log, which is much harder to diagnose than a clean failure.
Step 1: Deploy your VPS
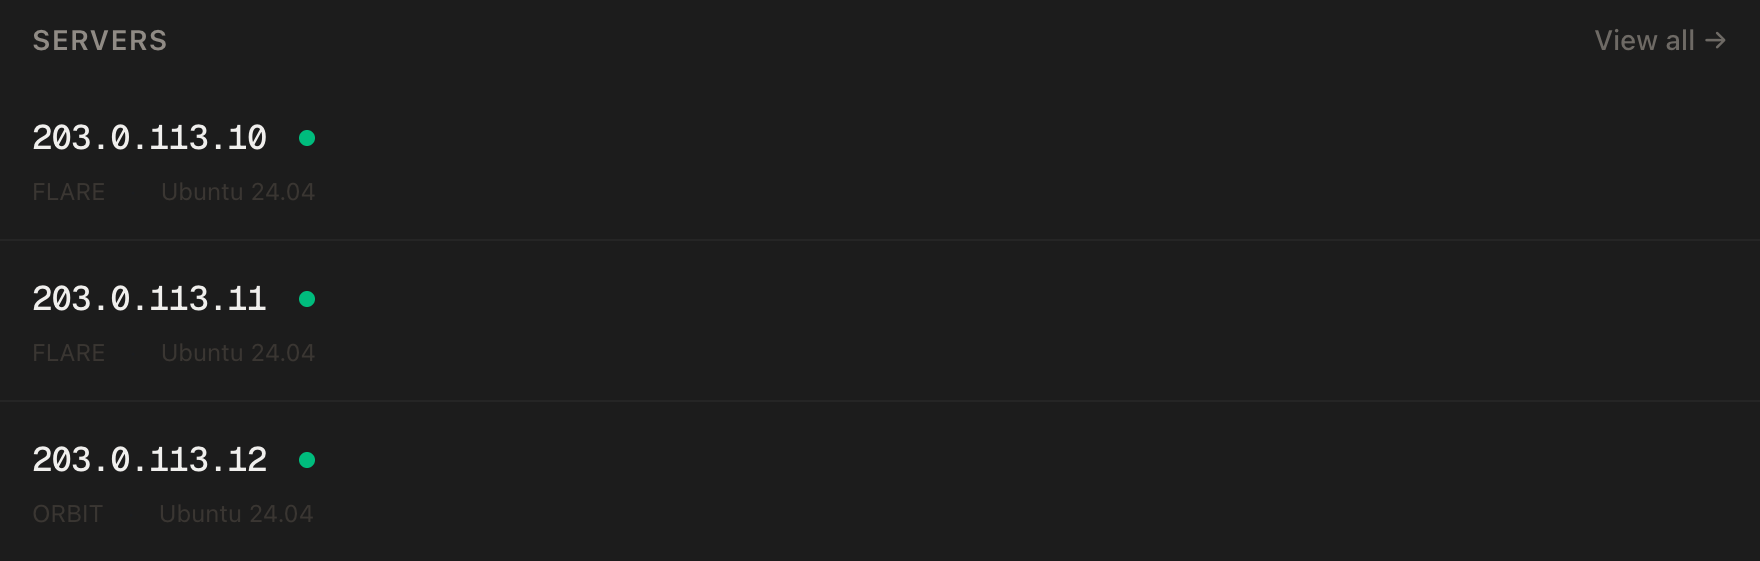
In the PrivateByte dashboard, open the store, choose Orbit, pick Ubuntu 24.04, and deploy. Ready in under 60 seconds.
Pick the region closest to most of your players. Minecraft is sensitive to latency in a way that a web app isn't, because every block placement is a round trip.
Step 2: Connect over SSH
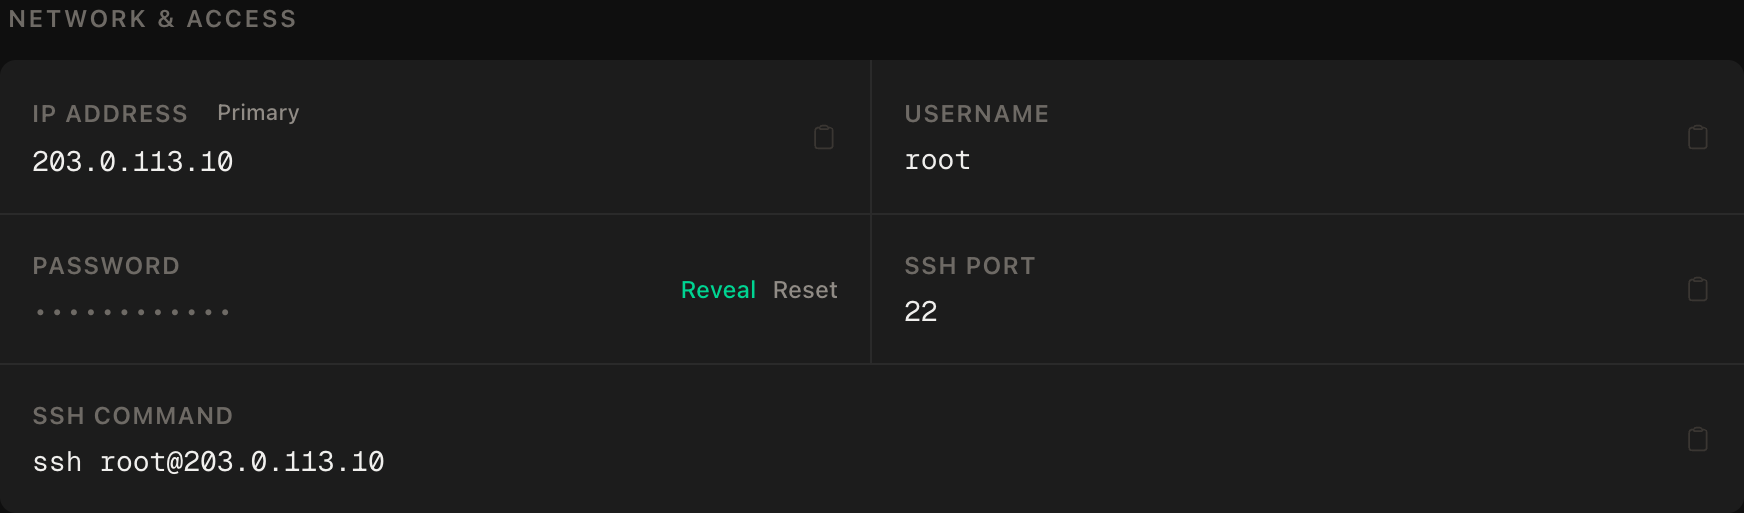
ssh root@YOUR_SERVER_IP
Windows users: PowerShell has ssh built in, or use PuTTY. The dashboard also has a browser console if you'd rather install nothing.
ssh command.Step 3: Install Java
Minecraft 1.20.5 and later require Java 21. Anything older will refuse to start with an unhelpful class-version error:
apt update && apt upgrade -y
apt install -y openjdk-21-jre-headless screen
java -version
You want openjdk version "21". The headless package is deliberate: a server has no display, and the full JRE pulls in graphics libraries it will never use.
Step 4: Create a non-root user
A Minecraft server runs code from plugins, mods and, indirectly, from players. None of that should have root:
adduser --disabled-password --gecos "" minecraft
mkdir -p /home/minecraft/server
chown -R minecraft:minecraft /home/minecraft/server
Step 5: Download the server
Mojang changes the download URL with every release, so take the current one from the official download page rather than trusting a link copied from a guide. Then, as the minecraft user:
su - minecraft
cd ~/server
wget -O server.jar "PASTE_THE_SERVER_JAR_URL_HERE"
Start it once. It will exit immediately, which is expected:
java -Xms1G -Xmx3G -jar server.jar nogui
That first run creates the configuration files and stops, because you haven't accepted the licence yet.
Step 6: Accept the EULA and configure the world
sed -i 's/eula=false/eula=true/' eula.txt
That's you agreeing to Mojang's EULA. Read it rather than just flipping the flag.
Now open server.properties:
nano server.properties
The settings worth setting deliberately:
motd=My PrivateByte Server
difficulty=normal
max-players=10
view-distance=10
online-mode=true
enable-command-block=false
Leave online-mode=true. Setting it to false disables Mojang authentication, which lets anyone join claiming any username, including yours. It is the single most common way a self-hosted server gets griefed by someone impersonating an operator.
view-distance is the setting that actually costs you memory and CPU. Dropping it from the default 10 to 8 makes a noticeable difference on a small server and is barely perceptible in play.
Step 7: Run it as a service
Right now the server dies when you close SSH. A systemd unit fixes that and brings it back after a reboot. Exit back to root:
exit
nano /etc/systemd/system/minecraft.service
[Unit]
Description=Minecraft Server
After=network.target

[Service]
User=minecraft
WorkingDirectory=/home/minecraft/server
Type=simple
ExecStart=/usr/bin/screen -DmS minecraft java -Xms1G -Xmx3G -jar server.jar nogui
ExecStop=/usr/bin/screen -p 0 -S minecraft -X stuff "say Server shutting down in 10 seconds^M"
ExecStop=/bin/sleep 10
ExecStop=/usr/bin/screen -p 0 -S minecraft -X stuff "save-all^M"
ExecStop=/usr/bin/screen -p 0 -S minecraft -X stuff "stop^M"
Restart=on-failure
RestartSec=15

[Install]
WantedBy=multi-user.target
Two things here are load-bearing. screen keeps a console you can attach to, which you need for op, whitelist and ban commands. And the ExecStop sequence saves the world before stopping, rather than killing the process and hoping the last few minutes of building survived.
Match -Xmx3G to your plan: 3G on Orbit, 6G on Comet. Never set it to the server's full RAM, because the operating system and Java's own overhead live outside the heap.
systemctl daemon-reload
systemctl enable --now minecraft
systemctl status minecraft
Step 8: Open the firewall
ufw allow OpenSSH
ufw allow 25565/tcp
ufw --force enable
Order matters. Allow SSH first and enable the firewall last, or you'll lock yourself out. If you do, the dashboard's browser console gets you back in.
Verify it works
First, confirm the server is actually listening on the right port:
ss -lntp | grep 25565
Then watch it finish starting. The line you want says Done:
su - minecraft
screen -r minecraft
You're now at the server console. Type op YOUR_MINECRAFT_USERNAME to make yourself an operator. Press Ctrl+A then D to detach. Closing this window without detaching will not stop the server, but typing stop will.
Now open Minecraft, go to Multiplayer, Add Server, and enter your server's IP. It should appear with a green connection bar and let you in.
Finally, prove it survives a restart, which is the whole point of a service:
exit
reboot
Wait a minute, reconnect and run systemctl status minecraft. If it's active (running) without you starting it, you're done.
Troubleshooting
UnsupportedClassVersionError on startup. Java is too old. Check java -version reports 21, and install openjdk-21-jre-headless if it doesn't.
Players can't connect but the server is running. Check ufw status includes 25565/tcp, and confirm players are using the server's public IP with no port, or with :25565 if their client needs it. Also check the console for Done rather than assuming startup finished.
"Can't keep up! Is the server overloaded?" in the log. The server is missing its tick deadline, which usually means not enough memory or too high a view distance. Check free -m and -Xmx, then drop view-distance to 8. This is the message that means your plan is too small.
The world reverted after a restart. The server was killed rather than stopped, so the last save never happened. Always use systemctl stop minecraft or the console's stop command, both of which save first.
screen -r says there's no screen to resume. You're the wrong user. Run su - minecraft first, since the session belongs to that account and not to root.
Server starts, then stops seconds later. Read the log at ~/server/logs/latest.log. Nine times out of ten it's eula.txt still set to false, or a corrupt server.jar from an interrupted download.
Do it with an AI agent
If you'd rather hand this to Claude Code, Cursor, or another coding agent, don't paste the article at it. Articles are written for humans, and agents skim the warnings and lose the ordering. Copy this instead, and run it from your own machine with your agent able to SSH out.
Prompt for an AI agent
Set up a vanilla Minecraft Java server on a fresh Ubuntu 24.04 VPS, running as a
service that survives reboots.

FILL IN FIRST:
- SERVER_IP = <VPS IP from the PrivateByte dashboard>
- MC_USER   = <my Minecraft username, to be opped>
- HEAP      = <3G on a 4GB plan, 6G on 8GB. Never the full server RAM.>

STEPS:
1. SSH to root@SERVER_IP. Confirm Ubuntu 24.04 before changing anything.
2. Install openjdk-21-jre-headless and screen. Minecraft 1.20.5+ needs Java 21;
   confirm "java -version" reports 21 before continuing.
3. Create user "minecraft" with no password. Everything below runs as that
   user. Never run the server as root.
4. ASK ME for the current server.jar URL from minecraft.net. Do NOT guess a
   URL or reuse one from memory, it changes every release.
5. Download it to /home/minecraft/server, run it once so it generates its
   files, then set eula=true in eula.txt.
6. In server.properties set online-mode=true, difficulty=normal,
   view-distance=8. Leave online-mode TRUE, false lets anyone join as any
   username including an operator.
7. Write /etc/systemd/system/minecraft.service running the jar under
   "screen -DmS minecraft" with Type=simple and -Xmx set to HEAP. ExecStop
   must send "save-all" then "stop" through screen, not kill the process, or
   recent building is lost.
8. Firewall, in THIS EXACT ORDER:
       a) ufw allow OpenSSH
       b) ufw allow 25565/tcp
       c) ufw --force enable
9. systemctl enable --now minecraft, then op MC_USER from the console.

RULES:
- The step 8 ordering is not optional. Enabling the firewall before allowing
  OpenSSH ends my SSH session and locks me out of my own server.
- Never set -Xmx to the machine's total RAM. The OS and Java's non-heap
  memory live outside it, and overcommitting causes the kernel to kill the
  server under load.
- Nothing destructive. If /home/minecraft/server already contains a world,
  STOP and ask rather than overwriting it.
- Do not disable online-mode, and do not install plugins or mods unless I ask.

VERIFY, SHOWING ME THE OUTPUT OF EACH:
- "java -version"                  -> 21
- "systemctl status minecraft"     -> active (running)
- "ss -lntp | grep 25565"          -> listening
- last lines of ~/server/logs/latest.log -> a "Done" line, no stack trace
- "ufw status"                     -> BOTH OpenSSH and 25565/tcp allowed
- reboot, wait 60s, "systemctl status minecraft" -> back up on its own

Do not tell me a step succeeded without showing the output that proves it. If
a check fails, stop and report the real error. Do not retry silently or
improvise a workaround, especially around the firewall.
The memory rule in this prompt is the one worth carrying into your own work. Handing an agent a machine and letting it choose heap size is how you get a server that runs perfectly until the first busy evening and then gets killed by the kernel.
Deploy your VPS
A Minecraft server is a memory workload before it is anything else, and it runs every hour of every day whether anyone is on or not, which is exactly what a VPS is for.
The Orbit plan is the honest starting point for a real world with friends on it. Flare will run a small two-or-three-player map, and Comet is where you go for modpacks.
- Unmetered bandwidth, no overage
- Free DDoS protection
- Daily automated backups
- Browser console access
Common questions
How much RAM does a Minecraft server actually need? Two to three gigabytes of heap for a vanilla world with a handful of players, plus room for the operating system on top. That makes 4 GB the realistic starting point and 8 GB the number for modded packs. Player count matters less than world size, view distance and mods.
Do I need a domain name? No. Players can connect straight to the server's IP address. A domain is nicer to share and lets you move the server later without everyone updating their client, but nothing here requires one.
Can I run mods or plugins? Yes. Swap the vanilla jar for Paper, Fabric or Forge and the rest of this guide is unchanged, since the service, firewall and user setup are all the same. Budget more memory: modpacks routinely want double what vanilla does.
How do I back up my world?
The whole world lives in ~/server/world. Run save-off and save-all in the console, copy the directory, then save-on so you never copy a half-written file. PrivateByte also takes daily automated backups of the entire server, which covers the case where you forget.