Setting up your own WireGuard VPN server gives you an encrypted tunnel you control, with no subscription and no shared exit IP. WireGuard is small enough to audit, fast enough that you won't notice it, and built into the Linux kernel. Blank server to a working VPN on your phone and laptop in about 20 minutes, for $5.99 a month.
Using an AI coding agent? There's a ready-made prompt at the end of this guide. Copy that instead of this article.
What you'll need
- A PrivateByte VPS. The Flare plan ($5.99/mo: 1 vCPU, 2 GB RAM, 25 GB SSD) is the right size, because WireGuard runs in the kernel and a personal VPN barely registers on CPU.
- The WireGuard client for your devices. Official apps exist for iOS, Android, macOS, Windows and Linux.
- About 20 minutes. Every command is copy-paste.
One honest note on speed. Your VPN can never be faster than the server's uplink. Flare's 100 Mbps is plenty for browsing and remote access; for 4K streaming or a whole household, take Orbit (250 Mbps, $7.99) or Comet (500 Mbps, $15.99).
Step 1: Deploy your VPS
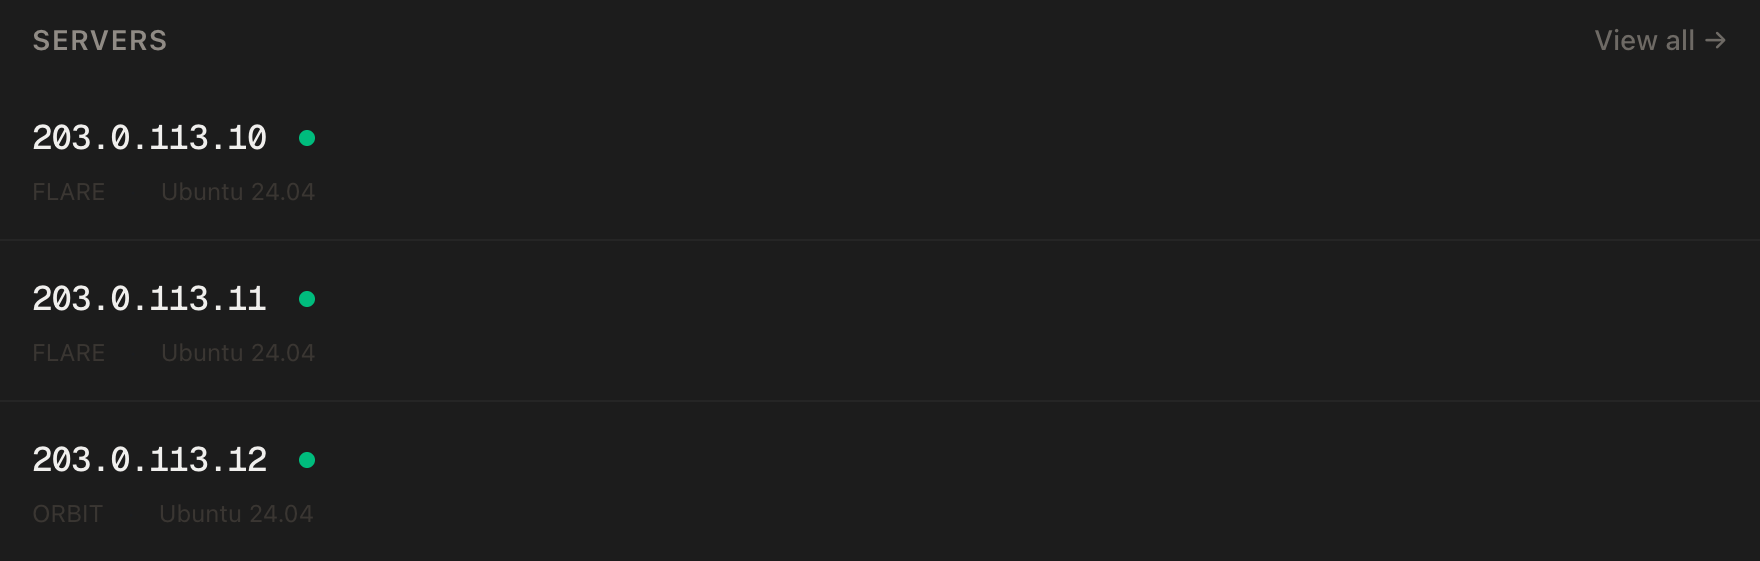
In the PrivateByte dashboard, open the store, choose Flare, pick Ubuntu 24.04, and deploy. Ready in under 60 seconds.
Pick the region closest to where you'll actually use it: latency through a VPN is your distance to the server plus the server's distance to everything else.
Step 2: Connect over SSH
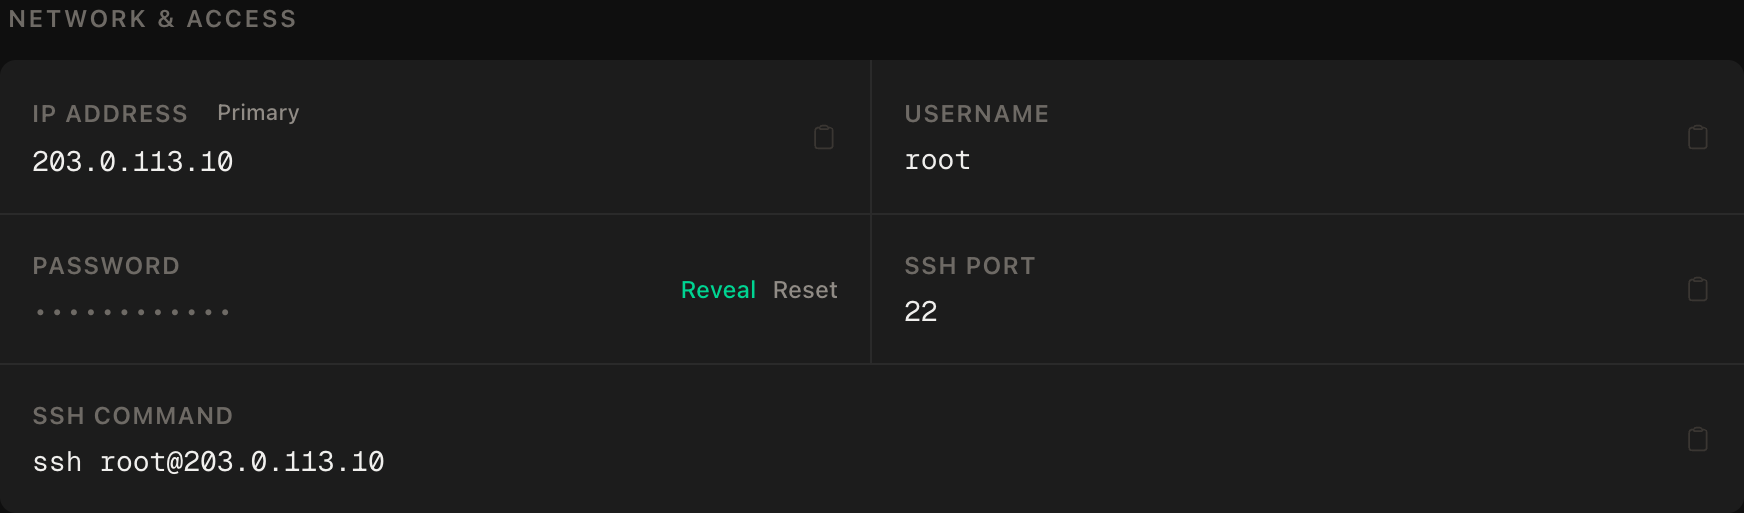
ssh root@YOUR_SERVER_IP
Windows users: PowerShell has ssh built in, or use PuTTY. The dashboard also has a browser console if you'd rather install nothing.
ssh command.Step 3: Install WireGuard
sudo apt update && sudo apt upgrade -y
sudo apt install -y wireguard qrencode
qrencode is what lets you add a phone by scanning instead of typing a key by hand.
Step 4: Generate the server's keys
cd /etc/wireguard
umask 077
wg genkey | sudo tee server_private.key | wg pubkey | sudo tee server_public.key
sudo cat server_private.key
umask 077 keeps the private key readable only by root. The last line prints the key you need in Step 6.
Step 5: Find your network interface name
This is the step that breaks most guides, because they assume eth0. On many modern systems it's ens3, enp1s0 or something else. Ask the server rather than guessing:
ip route show default | awk '{print $5}'
Note what it prints; we'll call it YOUR_INTERFACE. Get this wrong and the VPN connects perfectly but no traffic reaches the internet.
Step 6: Write the server config
sudo nano /etc/wireguard/wg0.conf
[Interface]
Address = 10.8.0.1/24
ListenPort = 51820
PrivateKey = PASTE_SERVER_PRIVATE_KEY_HERE

PostUp   = iptables -A FORWARD -i wg0 -j ACCEPT; iptables -t nat -A POSTROUTING -o YOUR_INTERFACE -j MASQUERADE
PostDown = iptables -D FORWARD -i wg0 -j ACCEPT; iptables -t nat -D POSTROUTING -o YOUR_INTERFACE -j MASQUERADE
Address is the VPN's private network: the server is 10.8.0.1, clients get .2, .3 and so on. The PostUp line turns the server into a router when the tunnel comes up and MASQUERADE makes your traffic leave wearing the server's IP. Then lock the file down:
sudo chmod 600 /etc/wireguard/wg0.conf
Step 7: Enable IP forwarding
Linux won't pass traffic between interfaces by default:
echo "net.ipv4.ip_forward=1" | sudo tee /etc/sysctl.d/99-wireguard.conf
sudo sysctl --system
sysctl net.ipv4.ip_forward
You want net.ipv4.ip_forward = 1. Putting it in /etc/sysctl.d/ rather than running sysctl -w is what makes it survive a reboot.
Step 8: Open the firewall and start the server
sudo ufw allow OpenSSH
sudo ufw allow 51820/udp
sudo ufw --force enable
Order matters. Allow SSH first and enable the firewall last, or you'll lock yourself out. If you do, the dashboard's browser console gets you back in.
sudo systemctl enable --now wg-quick@wg0
Step 9: Add your first client
Generate a keypair for the device, then print the three values you're about to paste:
cd /etc/wireguard
umask 077
wg genkey | sudo tee phone_private.key | wg pubkey | sudo tee phone_public.key
sudo cat phone_public.key    # goes in the SERVER config, under [Peer]
sudo cat phone_private.key   # goes in the CLIENT config, under [Interface]
sudo cat server_public.key   # goes in the CLIENT config, under [Peer]
Tell the server about it:
sudo nano /etc/wireguard/wg0.conf
Append:
[Peer]
PublicKey = PASTE_PHONE_PUBLIC_KEY_HERE
AllowedIPs = 10.8.0.2/32
Apply it without dropping existing connections:
sudo wg syncconf wg0 <(sudo wg-quick strip wg0)
Now build the client config:
sudo nano /etc/wireguard/phone.conf
[Interface]
PrivateKey = PASTE_PHONE_PRIVATE_KEY_HERE
Address = 10.8.0.2/32
DNS = 1.1.1.1

[Peer]
PublicKey = PASTE_SERVER_PUBLIC_KEY_HERE
Endpoint = YOUR_SERVER_IP:51820
AllowedIPs = 0.0.0.0/0
PersistentKeepalive = 25
AllowedIPs = 0.0.0.0/0 routes all traffic through the VPN; use 10.8.0.0/24 instead if you only want to reach the server's private network. PersistentKeepalive = 25 holds the tunnel open through routers and mobile networks that drop idle connections.
Show it as a QR code and scan it with the mobile app:
qrencode -t ansiutf8 < /etc/wireguard/phone.conf
For a laptop, copy the file contents into a new tunnel in the desktop app.
Then delete the client's copy from the server. A device's private key doesn't need to live there, and leaving it means one compromised server hands over every device you've added:
sudo shred -u /etc/wireguard/phone.conf /etc/wireguard/phone_private.key
The server keeps working, because it only ever needed the phone's public key, which is already in wg0.conf.
Verify it works
sudo wg show
Once a client connects you'll see a peer with a latest handshake within the last couple of minutes and non-zero transfer figures.
On the client, with the tunnel on, visit any "what is my IP" site. It should show your server's IP. That single check confirms the whole chain: tunnel up, forwarding working, NAT rewriting correctly.
Then sudo reboot, wait thirty seconds and run sudo wg show again. If the peer returns on its own, it survives restarts.
Troubleshooting
No handshake ever appears. The client can't reach the server on UDP 51820. Check sudo ufw status includes 51820/udp and that Endpoint is the server's real public IP. WireGuard is UDP: some corporate and hotel networks block it entirely.
Handshake succeeds but there's no internet. Almost always Step 5 or Step 7. Re-run ip route show default | awk '{print $5}' and check the name matches PostUp exactly, then check sysctl net.ipv4.ip_forward returns 1. These two account for most "connected but nothing loads".
Websites don't resolve but IP addresses work. DNS. Make sure the client config has a DNS = line under [Interface].
Works on Wi-Fi, fails on mobile data. An MTU problem: some carriers use smaller packet sizes. Add MTU = 1420 under [Interface] in the client config, and try 1380 if it's still unreliable.
Locked yourself out with ufw. Open the browser console from the dashboard and run sudo ufw allow OpenSSH.
Do it with an AI agent
If you'd rather hand this to Claude Code, Cursor, or another coding agent, don't paste the article at it. Articles are written for humans, and agents skim the warnings and lose the ordering. That matters more here than in most guides, because two of the steps below will lock you out of your own server if they're done in the wrong order. Copy this instead, and run it from your own machine with your agent able to SSH out.
Prompt for an AI agent
Set up a WireGuard VPN server on a fresh Ubuntu 24.04 VPS and connect my devices.

FILL IN FIRST:
- SERVER_IP = <VPS IP from the PrivateByte dashboard>
- CLIENTS   = <devices to connect, e.g. "phone and laptop">

STEPS:
1. SSH to root@SERVER_IP. Confirm Ubuntu 24.04 first.
2. Install wireguard and qrencode.
3. Generate the server keypair in /etc/wireguard, "umask 077" set first.
4. Detect the outbound interface:
       ip route show default | awk '{print $5}'
   Use exactly what it prints. Do NOT assume eth0. Guessing produces a VPN
   that connects but passes no traffic.
5. Write /etc/wireguard/wg0.conf: Address 10.8.0.1/24, ListenPort 51820, the
   server private key, PostUp/PostDown iptables MASQUERADE on that interface.
   chmod 600 it.
6. Enable IPv4 forwarding via /etc/sysctl.d/99-wireguard.conf, "sysctl --system".
7. Firewall, in THIS EXACT ORDER:
       a) ufw allow OpenSSH
       b) ufw allow 51820/udp
       c) ufw --force enable
8. systemctl enable --now wg-quick@wg0
9. For EACH device: own keypair, a [Peer] with a unique AllowedIPs of
   10.8.0.x/32, applied with "wg syncconf wg0 <(wg-quick strip wg0)" so live
   tunnels are not dropped. Client config gets DNS = 1.1.1.1,
   AllowedIPs = 0.0.0.0/0, PersistentKeepalive = 25.
10. QR any phone config with "qrencode -t ansiutf8", then shred that client's
    .conf and private key off the server once I confirm it landed.

RULES:
- The step 7 ordering is not optional. Enabling the firewall before allowing
  OpenSSH ends my SSH session and locks me out of my own server.
- Give every device its own keypair. Never reuse one config, or I cannot
  revoke a lost phone without breaking everything else.
- Print each client config exactly once so I can save it. Never paste private
  keys into summaries, logs, or any file outside /etc/wireguard.
- Nothing destructive. If /etc/wireguard/wg0.conf already exists, STOP and
  ask rather than overwriting an existing VPN.
- Do not change the SSH port, the SSH config, or how I log in.

VERIFY, SHOWING ME THE OUTPUT OF EACH:
- "systemctl status wg-quick@wg0" -> active
- "sysctl net.ipv4.ip_forward"    -> 1
- "ufw status"                    -> BOTH OpenSSH and 51820/udp allowed
- "wg show" after I connect       -> a peer with a recent handshake
- reboot, wait 30s, "wg show"     -> back up on its own

Do not tell me a step succeeded without showing the output that proves it. If
a check fails, stop and report the real error. Do not retry silently or
improvise a workaround, especially around the firewall.
The interface detection and the firewall ordering are the two worth carrying into any agent prompt that touches a server. Both are cases where the wrong action still looks like it worked, right up until it doesn't.
Deploy your VPS
A personal WireGuard server is one of the best-value things you can run on a VPS: always on, almost no CPU, and it replaces a subscription with something only you are on.
The Flare plan at $5.99/mo handles a personal or small-household VPN comfortably. Unmetered bandwidth matters more for a VPN than most workloads, since every byte crosses the server twice.
- Unmetered bandwidth, no overage
- Free DDoS protection
- Daily automated backups
- Browser console access
Common questions
Is self-hosting better than a commercial VPN? It's different. You get full control, no shared exit IP, and no need to trust a provider's logging policy. What you lose is the crowd: on a commercial VPN your traffic mixes with thousands of others, while a personal server has one obvious user. Self-hosting is excellent for security and access, and a weaker tool for anonymity.
How many devices can I connect?
As many as you like. Add a [Peer] block per device, each with its own keypair and its own address in the 10.8.0.x range. Give every device its own keys so you can revoke a lost phone without disturbing the rest.
Will this let me watch geo-restricted streaming? Sometimes, and less often than people expect. Major streaming services detect and block datacentre IP ranges, which is what any VPS gives you. It'll work for some services and not others, and it can stop working without notice. Don't buy a server solely for this.
What happens if I lose my phone?
Remove that device's [Peer] block from /etc/wireguard/wg0.conf, then run sudo wg syncconf wg0 <(sudo wg-quick strip wg0). Access is revoked immediately and your other devices are unaffected.